|
by Steve McManus |
||||||||||||||
| R. Qtr. | DeStreamliner | DeSuccess | DeSupply | DeSpeed | DeStuff | DeStop | ||||||||||||||
|
Inner Quarter Panel
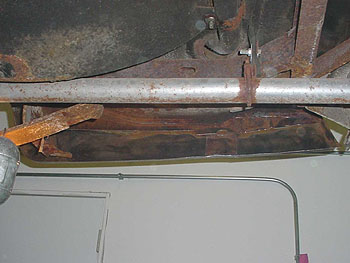
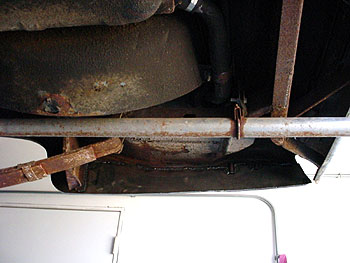
After completing the welding on the outer rear quarter panels, I started rebuilding the inner rear quarter panels. The first step was to cut away all the rotted metal. Then I cleaned the surfaces with angle grinder and cup brush.
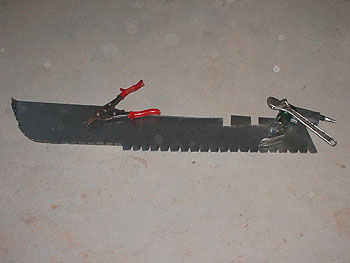
I then measured the approxiamate size of the patch needed to replace the rust. I cut out a blank from 20 ga sheet metal and placed it in the quarter panel and marked it off with a sharpie. I then trimmed the patch for fit. I wanted it to be a bit larger so I could lap weld it over the remaining original metal.
After much fiddling and test fitting, I finally got it cut to the correct size. Note the tabs cut along the lower edge. These will bend to mate with the bottom edge of the outer quarter panel. These will also serve as the weld surface for attaching the bottom of the quarter panels together.
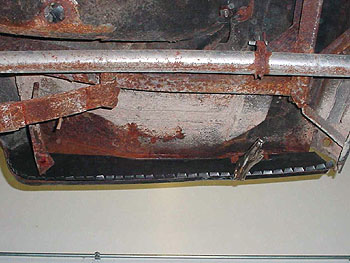
I put the bumper end back in place to make sure I had the correct contour on the quarter panel before tack welding it into place. Once it is welded in place, you are stuck with the contour you have. I never knew how rigid the quarter panels could be with solid metal on both sides.
With everything lined up the way I wanted it, I welded everything in place. I also made a new bracket for the "mud flaps" and welded them to the new inner quarter panel.
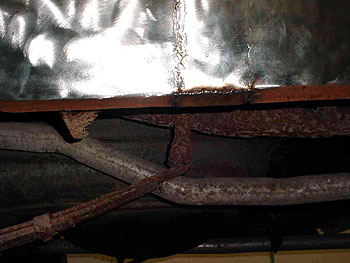
While cutting away the inner rear quarter panels, it became obvious that the bottom lip of the remaining original metal was deteriorated beyond salvage on both sides. As you may recall, the patch panels were 3 plus inches too short, so there is a 3 and a half inch vertical strip of original quarter panel in the middle of each side. So a bit more cutting and welding was needed before finishing the panels.
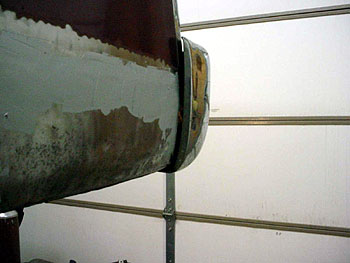
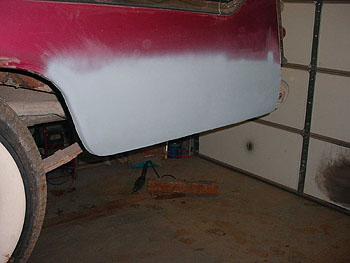
With all the welding done, I used my handy air cut off tool to carefully knock the high spots off of the welds. The abrasive disc only removes the material you aim it at. It doesnt generate near as much heat as using a grinder so it doesnt distort the panel like a grinder can. A quick scuffing of the entire surface with the grinder followed. After making sure the welds were at surface level or slightly below, it was time to fill along the welds. I considered using lead, but after talking to some knowledgeable folks, I decided to use an all metal filler. This is much easier to handle, is waterproof, bonds the panels together and sands nicely. Bondo was not a choice because it lets moisture through so it should never be used to cover a body seam. The brand names Metal to Metal and All Metal are recommended and cost about $20 a quart. Fill, block sand and repeat as necessary to achieve the desired smooth ripple free surface.
| ||||||||||||||
| DeStart | DeStreamliner | DeSuccess | DeSupply | DeSpeed | DeStuff | DeStop | ||||||||||||||